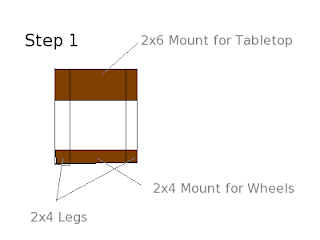
Step 1: build a square out of a 2x6 (top), 2x4 legs, and a 2x4 (bottom), as shown to the right:
Step 2: These legs then get screwed in between the front and back edge of the table top.
The back edge is identical to the front edge with an appropriate notch cut out for the saw overhang.
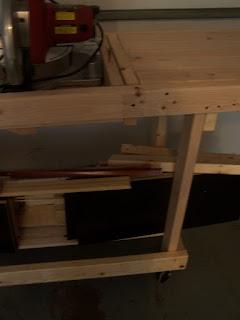
Here is a view of the legs attached to
 the table top:
Step 3: Two cross beams are attached from the bottom of each legs set to the leg set on the opposite side:


Step 4: Add wheels to the bottom of each leg. I used cast wheels covered in rubber from Harbor Freight.
I added 4 1x3s between the legs across the bottom to form a shelf for stacking wood. The additional weight on the bottom kept my rather narrow bench from being top heavy.
Don't forget to bolt your saw into the saw box per manufacturer's recommendations.
The Finished Product (with some of my short pieces of lumber stacked underneath):


No comments:
Post a Comment