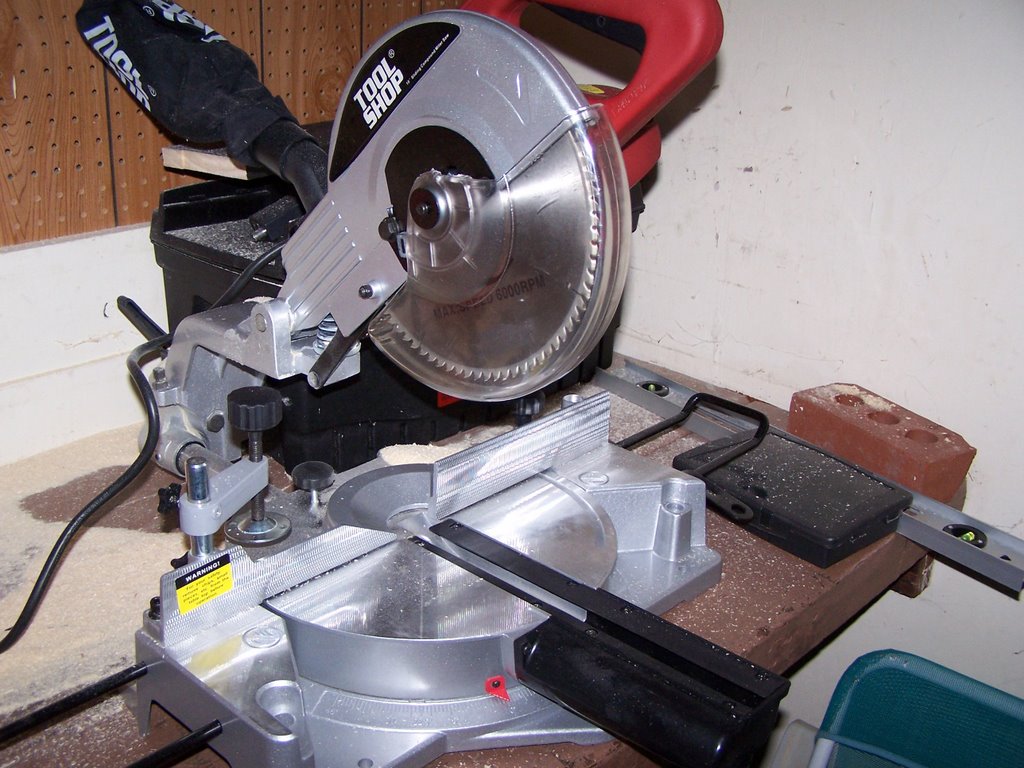
The idea is two simple stages. First, build a table top out of 2x4s to bolt the saw to. The table top shouldn't be flat, because the level surface of the saw is higher than the surface it is bolted to. Instead of having this several inch gap, I would like to have the saw table and the table top within 1/4 inch of each other, with the saw table being slightly higher. Second, the table top needs legs with wheels and a nice setup for storage. It would be nice too, if the base could eventually accommodate dust collection.
This post is going to cover stage one. Stage two: the legs will be covered in a future post.
Building the table top takes 4 major steps. There is some finishing to be done after this that will be included in mounting it to the legs after stage 2.
 Step 1, as shown above is to build 3 table segments. Just cut 2x4s to length, match them up side by side, add another 2x4 at a 90 degree angle to screw the 2x4s to, as a cross brace, and viola: a flat surface on side. I used the 4" side of the 2x4s for the table surface. It could be adapted to use the other side, if you really wanted to. Throughout this project I used 2 1/2 inch drywall screws, but a similar size screw of different types would probably work.
The result flat table segments should
 look like this:
TABLE TOP:
 <-- Crossbrace, with screws visible
Step 2, as shown in the diagram, is to add edges to form the saw box. This is the box that the saw will sit in and bolt to. I just literally screwed 2x4s to the appropriately sized top from step 1. As shown in the Figure of 4 steps, the edges are on top of the table top and on the opposite side from the crossbrace put on in step 1.
In Step 3, I added 2x6 edges to the table tops for the side segments. The 2x6 edge will be only slight taller (~1/2 inch) than the height of the center saw box (height = 2" side + 4 " side). Note that, per standards, 2x4s and such are not the true measurements of the wood. The 2x6 edges are screwed to the edges of the side table tops.
Step 4 is the assembly of the two side tables with the saw box. The most important part of this step is to ensure that the alignment is done so that the saw top is slightly higher than the side tables by a very small amount. Basically, I put screws from the 2x6 edges into the 2x4 sides of the saw box to hold everything together. Then I added the from edge 2x4 across the length to solidify the table. The back edge will be added during final assembly.
Side table mounted to the saw box

Another view of the saw in the sawbox with side table.


No comments:
Post a Comment