
My daughter got a damaged canvas still in the package for free from a yardsale. It looks like the pointed end of something got jabbed into it.
To repair it, I used spackling compound made to repair holes in walls. Add a bit, smooth it over with a little extra. Allow it to dry. Then sand smooth. To get a more uniform surface, try priming the whole canvas before using it.
Saturday, July 25, 2015
Friday, May 15, 2015
Fishing Pole Rack from Plywood and a 1x2
 |
| Full Fishing Pole Rack |
The basic design is three circles. The bottom of the rod rests against the bottom circle. The middle circle has holes in it for the rod to lean inside of. The top has slots for wooden clothespins to hold the top in place securely.
In this case, all three circles are made out of thick plywood. The bottom two have a couple of rectangular uprights between them to set the spacing. They are just glued in place.
The post of the center uses glue and pocket joints to hold it in place. Unfortunately, I got a bit of a split when screwing it in place, but it is still strong enough to work in my shop and I can fix it in the next version.
To hold the clothespins in place I put a small dab of super glue on one end and covered the rest with wood glue. The superglue will hold it in place in only a few seconds while the wood glue dries.
As an added touch, I had some small plastic casters left over from some big box piece of furniture that we never used, so I drilled holes in the bottom and forced them in. It rolls nicely and is easy to spin to get access to all the fishing poles.


Monday, April 06, 2015
New Shelves
My youngest daughter and wife did most of the work on this. It is a new set of shelves in my gaming room to hold miniatures. The shelves are stained cheap pine boards and 2x4s. They are notched to fit together square. Very cheap (less than 25$) buy they look really nice and are very sturdy.

Friday, October 24, 2014
Restore Fire Pit
We went over to the local Habitat for Humanity Restore today where they sell donated building supplies. There we found some leftover block for 25 cents a piece. So for $4 we got enough block to build a small fire pit big enough to roast a few hot dogs and marshmallows. Veronica and Sarah dug out the grass and assembled it. Tomorrow night the girls are going to try it out.


Sunday, September 07, 2014
WOW!! How Big a Two-Car Garage Is
Today after almost 8 months at the new place with extensive help from my daughterlings, we finished the first complete sort of the garage. Not all the shelves are up yet and I am still storing the mower and snowblower in there until we get a shed, but already there is room now to work or park a car. The prep was somewhat rushed because I need a place to park a couple of motorcycles for a few days, but it still felt good to get it done.
The work areas are divided into a large bench for hand tools and finishing where there is no power, a power tool area for woodworking, and a general area for assembly or doing repair work (lawnmowers, cars, etc). Unfortunately bicycle storage takes up a lot of space, though I suspect that will be reduced as the girls start driving.
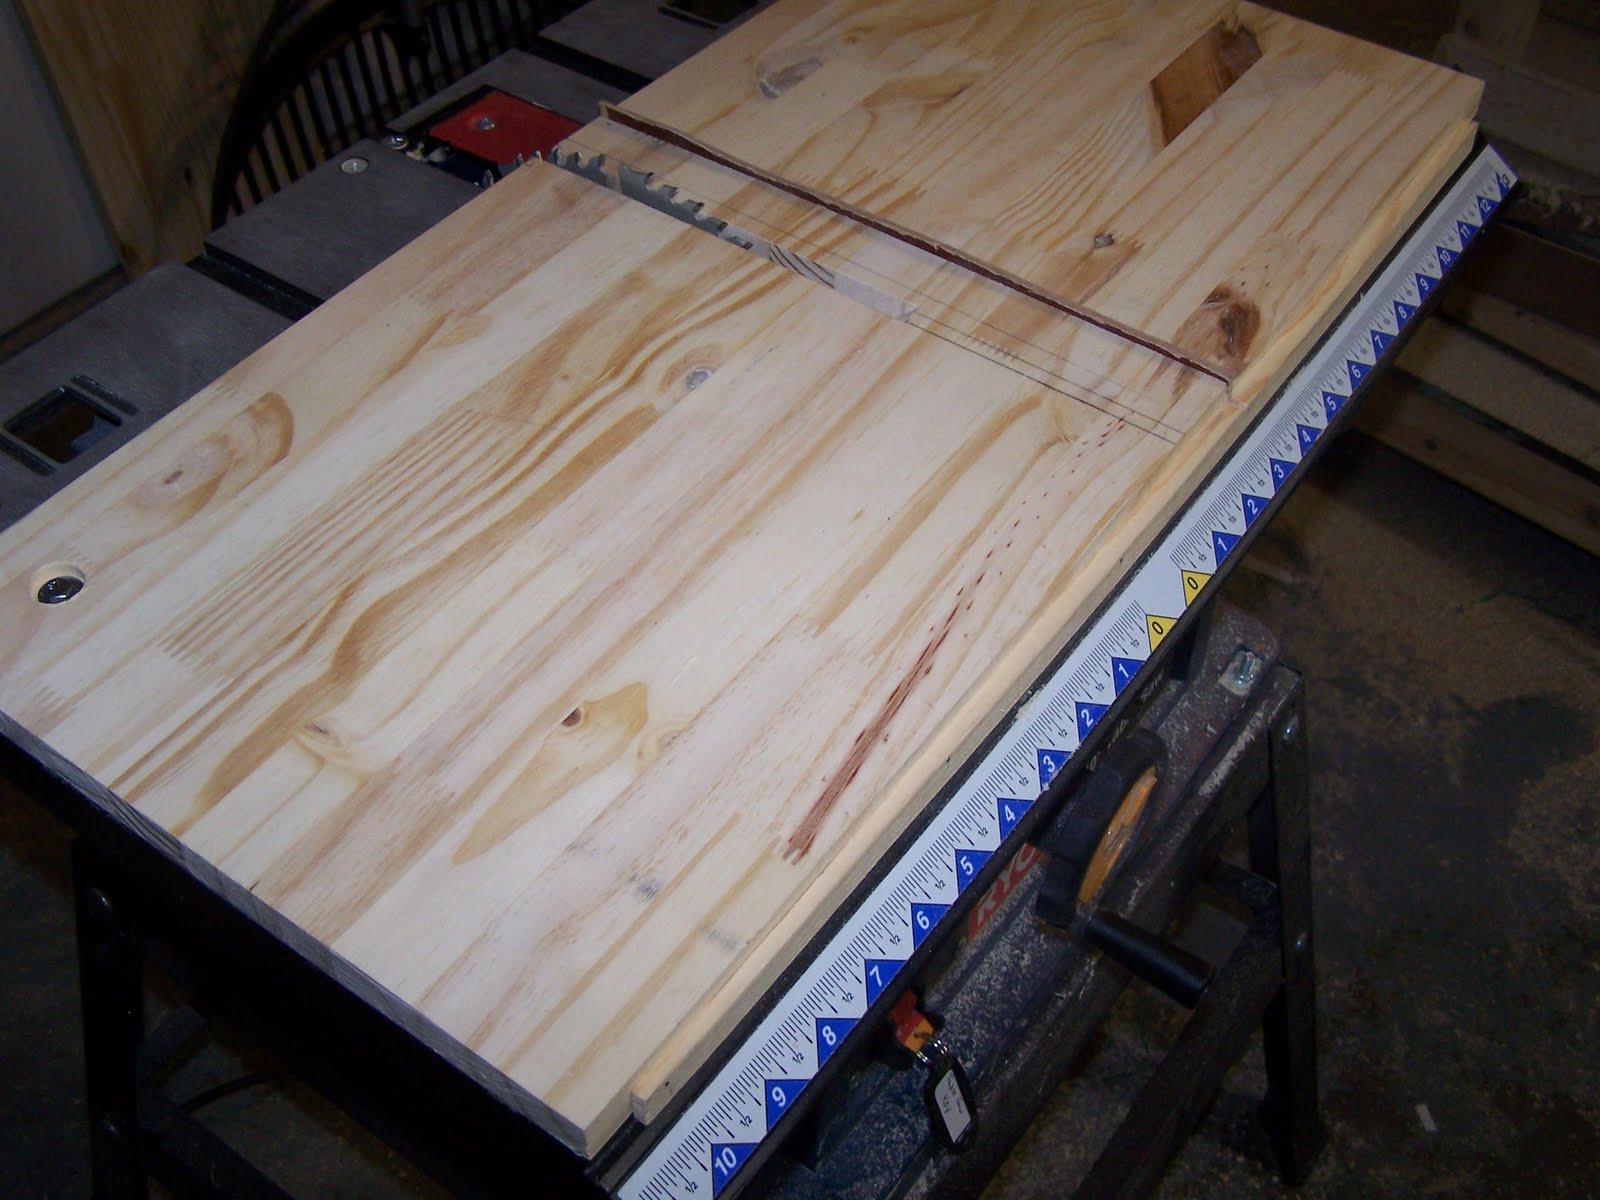
I have two 4x8 sheets of plywood sheets ready to go for my next couple of projects. I plan on revamping my table saw with a bigger plywood top and a new fence. I'm also planning to build a cabinet for my compound miter saw. Both will be waiting for me to heal from my current back problem. Hopefully I can get them done before winter. I am also working on a solar heater for the garage window, which would make the shop easier to keep going in the winter.


Saturday, September 06, 2014
Reused Lumber Cart
Storing lumber takes a lot of space. Moving lumber can be a pain, especially full sheets of plywood. For a small investment in four casters and some screws, my daughter's built a wood storage cart under my direction out of reused lumber. Some old wooden swingset pieces make up most of the cart. The build used some extra wooden braces and toe screws to sturdy it. One side is 6 feet long and open for large pieces. The other side has bracing on the ends so it is suitable for smaller length pieces which can be sturdied with a couple of bungee cords.


Monday, April 29, 2013
Sarah's Heater Shield Project
Sarah has been studying Great Britain in social studies. As a class project, she had to make a shield with a coat of arms on it. She chose to make a heater shield with our family crest on it.
STEP 1: Sarah made a ton of drawings for her shield design.
STEP 2: She made a poster board template of the shield and taped it to the 1/4 plywood and traced out the shape.

STEP 3: She cut out the shape on the bandsaw very carefully.

STEP 4: She hand sanded the edges.

STEP 5: She smoothed out the shape using a drum sander on the drill press.

STEP 6: She made a temple for the snowflakes that represent her as the third daughter of the family.

STEP 7: She drew out and painted the coat of arms on the board.

Here is Sarah proudly displaying her final product.

Sunday, March 31, 2013
Dice Popper Prototype
Here's my first prototype for a dice popper:
Eventually I am planning a 7 module version with a full set of polygonal dice for Pathfinder.
Eventually I am planning a 7 module version with a full set of polygonal dice for Pathfinder.
Bandsaw Reindeer: Rough Cut
My first attempt at a bandsaw reindeer. This is an old 2x4 I cut down, so the quality isn't great, but it let me work on my form.


Saturday, March 30, 2013
Dollar Store Birdhouse Condo
Here's a cool project. My daughters and I painted up some dollar store birdhouses in bright colors. Then we mounted them to some 1/4" plywood squares (painted black) with small holes in each corner. By choosing the right hole size, we could use twine tied with knots to hold each birdhouse in place. We tied a rock on the bottom to keep it from tumbling in the wind.
Tying them all together was a bit of a chore, but Sarah helped me with that.

And here's the finished product:

Tying them all together was a bit of a chore, but Sarah helped me with that.

And here's the finished product:

Friday, March 29, 2013
Band Saw Project Number 1
Yeah, I've been away from this blog for a while, but I recently got a bandsaw and now projects are underway again.
This was the project I saw on a Lowes Creative Ideas email:

And this was my version:

This was the project I saw on a Lowes Creative Ideas email:

And this was my version:

Sunday, April 11, 2010
Tillandsia Pot
Tillandsia is an air plant that takes no soil. It needs a place to sit but no soil. They have to be watered like normal plants, but pull all the nutrients they needs from the water.
We keep forgetting to water them.
To get them watered I made a regular pot with a plant in the top with a drain hole that runs down by holes for the tillandsia plants. When we water the plant on top, the tillandsia plants get watered too.

Hen and chick on top with tillandsia plants in holes in the side.

Hen and chick has rock mulch around it.

Tillandsia plants are hot glued into place in holes on the side.
New Woodworking Jig for Making Chessboards
I am wanting to make some chessboards. The boards will have slots cut with a table saw between the squares. To do this, I needed to make a jig that can set the distance between the edge or another slot to exactly 1 1/2 inches.
The new jig fits right on my table saw. Feet underneath fit in the miter gauge slots and a stop on the front rests up against the front edge of the table.

A thin strip of wood is inlaid into the top 1/2 inches from the blade and sticking up about 1/4 inch.

Recessed bolts hold the jig in place.

A miter gauge slot was routed in.

The slot fits tight with the miter gauge.

Thanks to my helper...

... we were able to get some nice parallel cuts with our new jig in a test piece of wood.
Saturday, January 23, 2010
First Wood Carving
I started with an excellent tutorial here.
I have a lot to learn and it will be fun learning along the way.
I have a lot to learn and it will be fun learning along the way.


Subscribe to:
Posts (Atom)